swagger2使用说明
微冷 2021/9/27 swagger2
以下说明全部基于前后端分离版本
- 配置类:
com.ruoyi.web.core.config.SwaggerConfig - 配置类的内部类:
ApiInfo接口文档摘要信息 - 内置测试类:
com.ruoyi.web.controller.tool.TestController - swagger类:
com.ruoyi.web.controller.tool.SwaggerController
# 一、请求路径
前提需登录系统
- 系统菜单:系统工具->系统接口
- 路径访问:http://localhost:1024/tool/swagger
- 1024是前端框架的端口
- 后台访问:http://localhost:8080/swagger-ui.html
- 8080是后台系统的端口
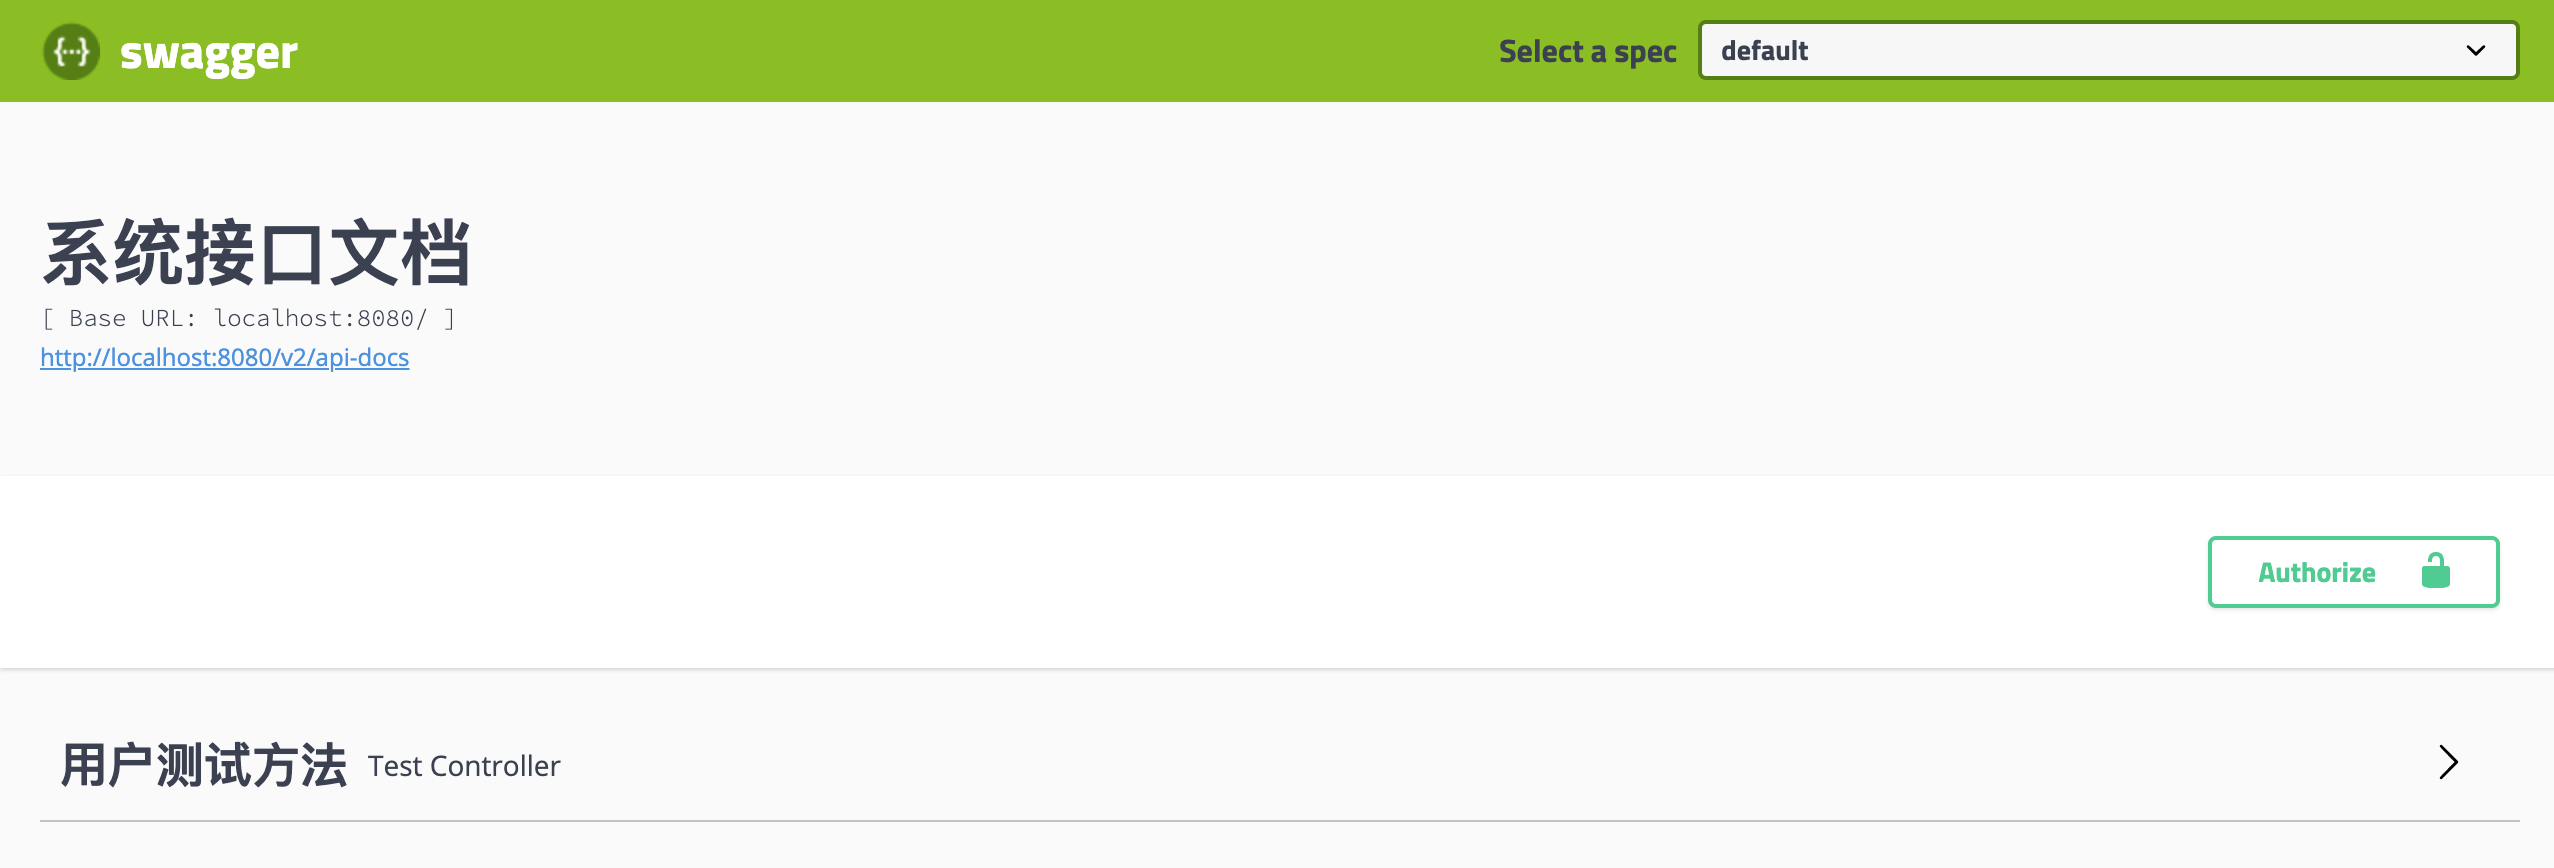
# 二、接口测试
操作流程:
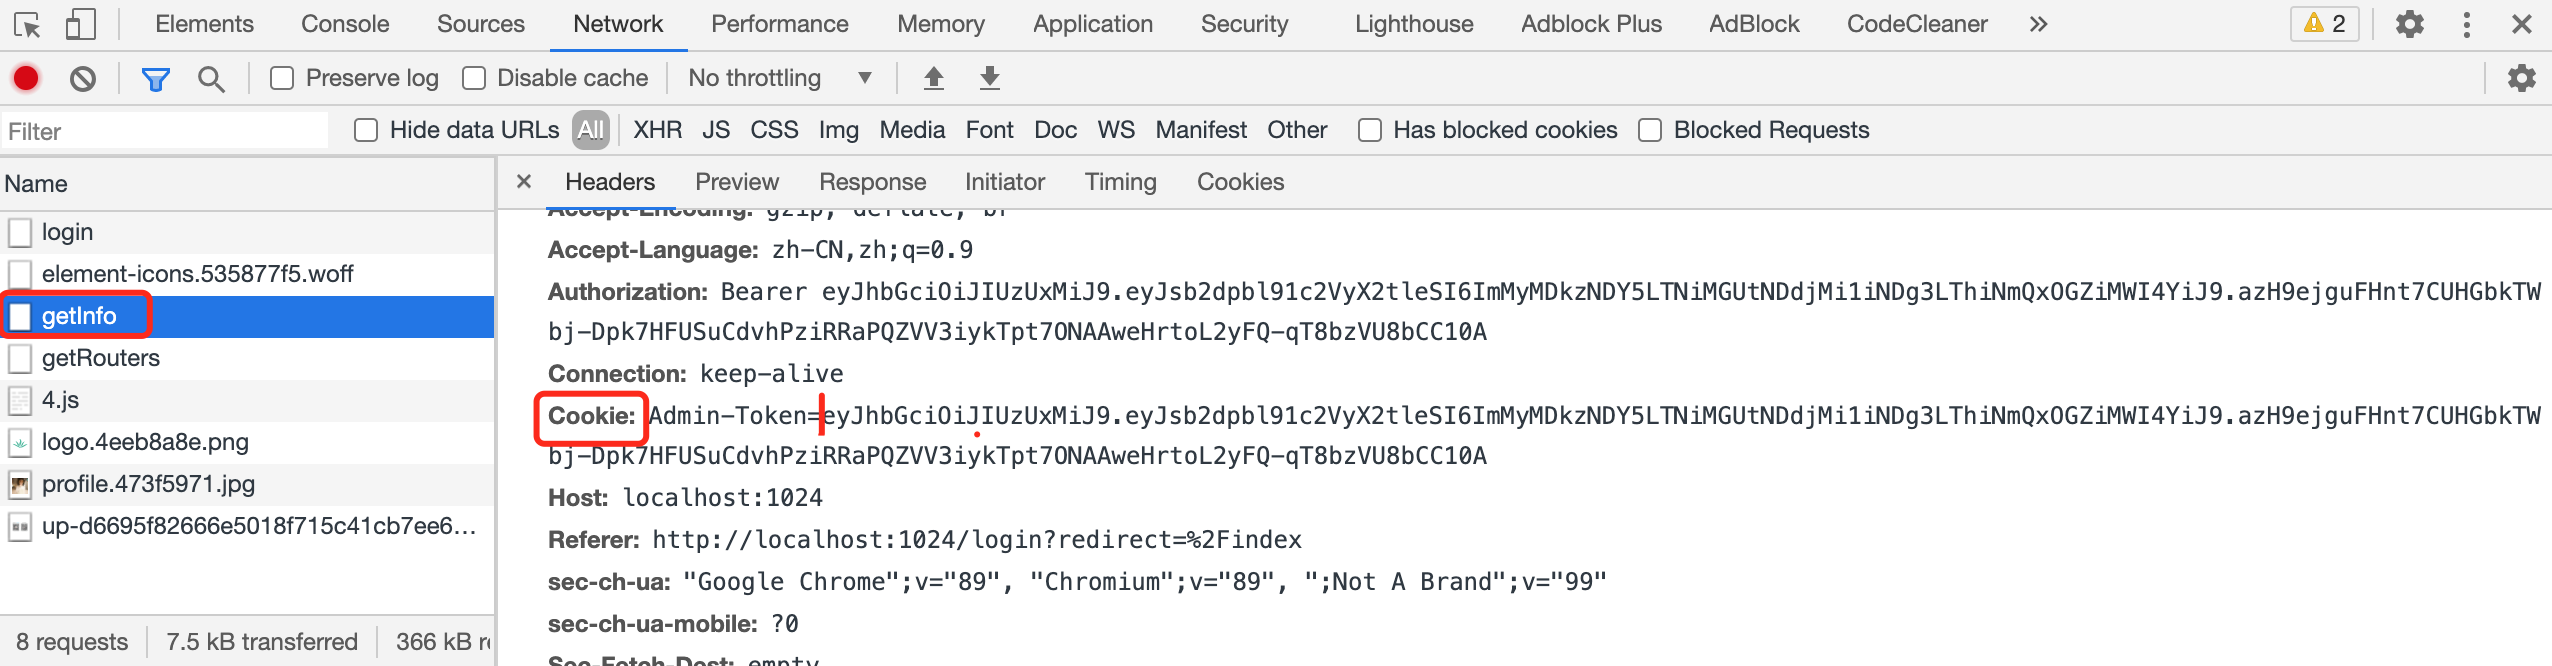
- 打开开发人员工具,登录系统
- 在Network(或者网络)选项中选择一条后台请求,并找到Headers中的Cookie值,记录下来**,从=后面开始记录**
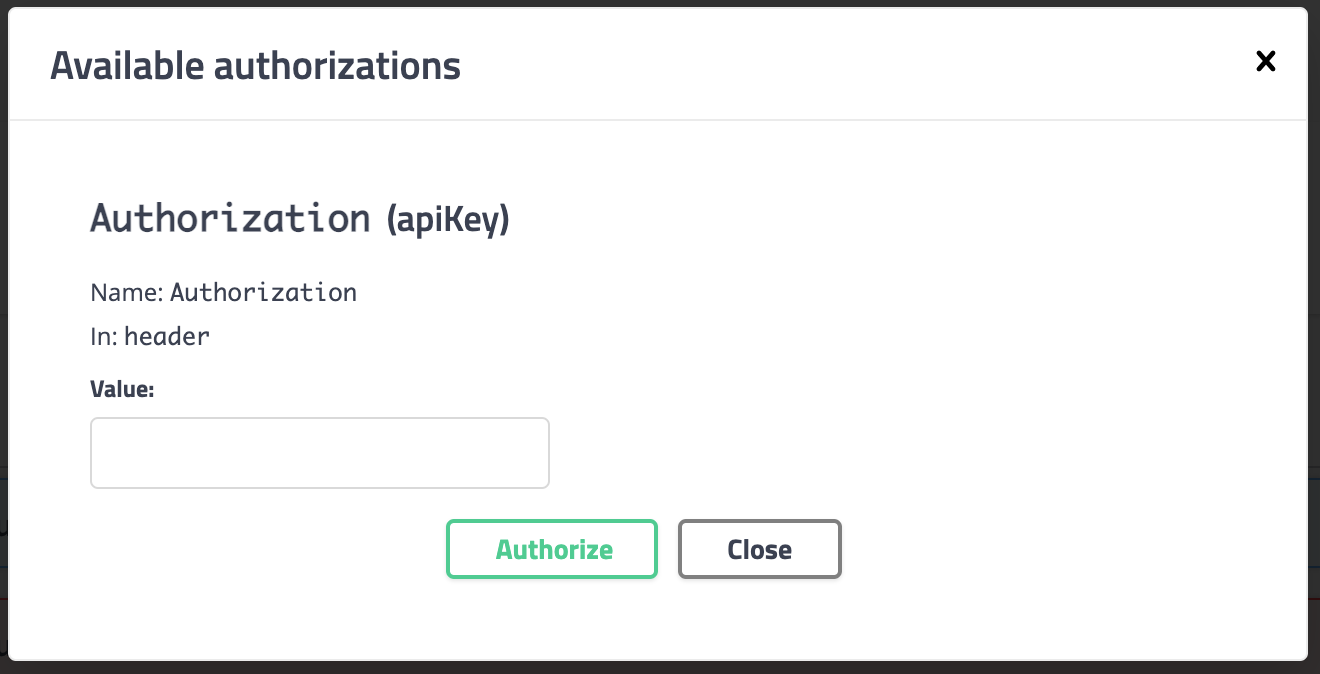
- 进入到api界面,选择Authorize按钮进行认证,填入2中记录的Cookie值
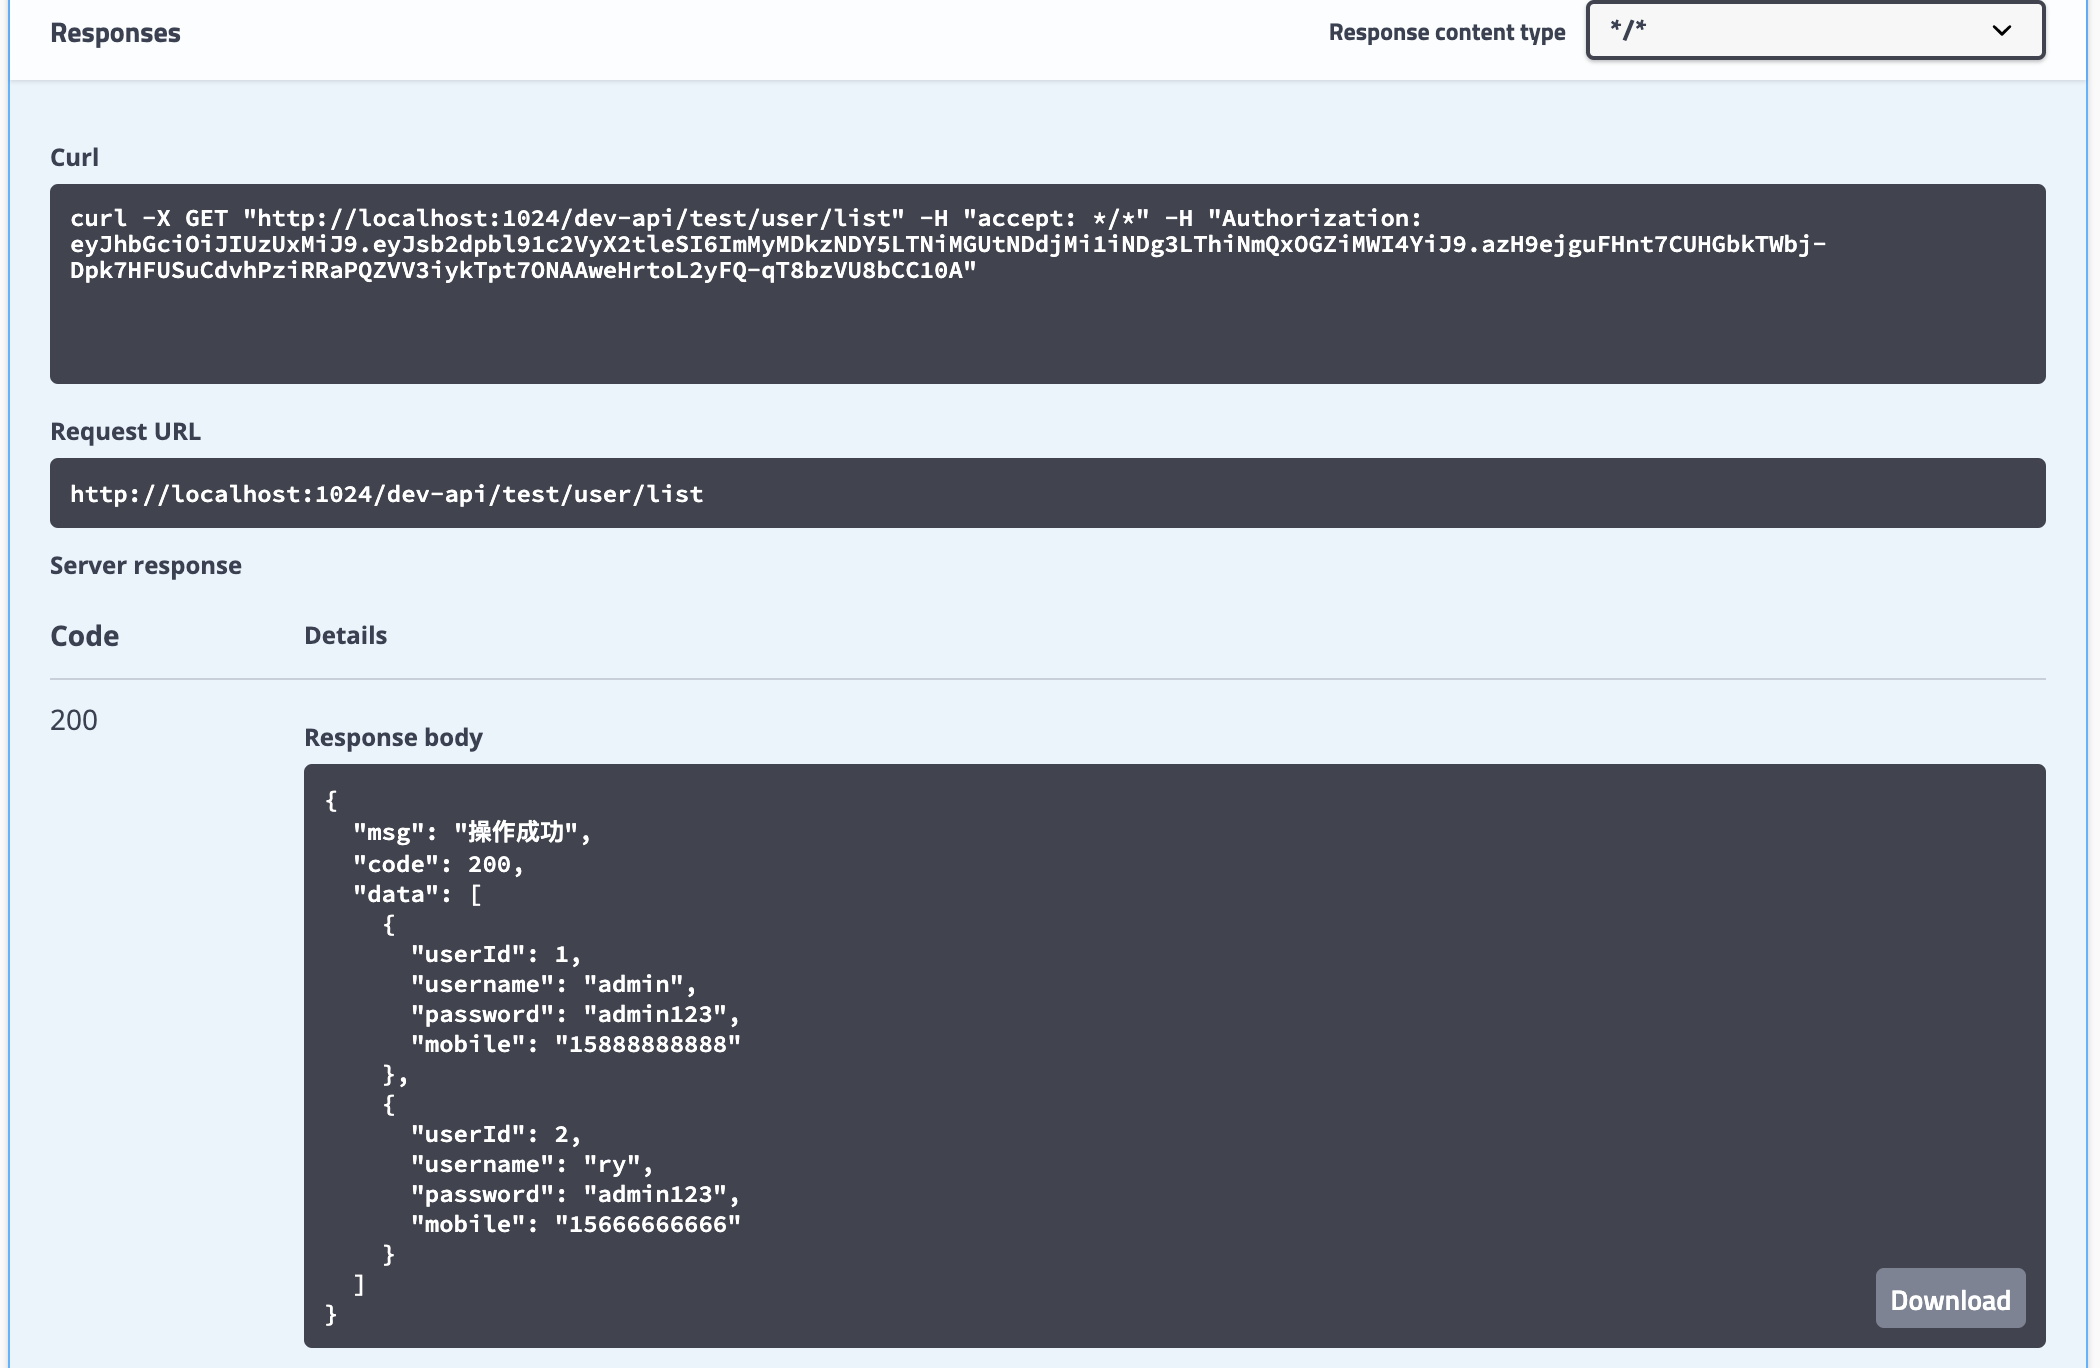
- 选择一条测试接口,打开后点击Try it out按钮
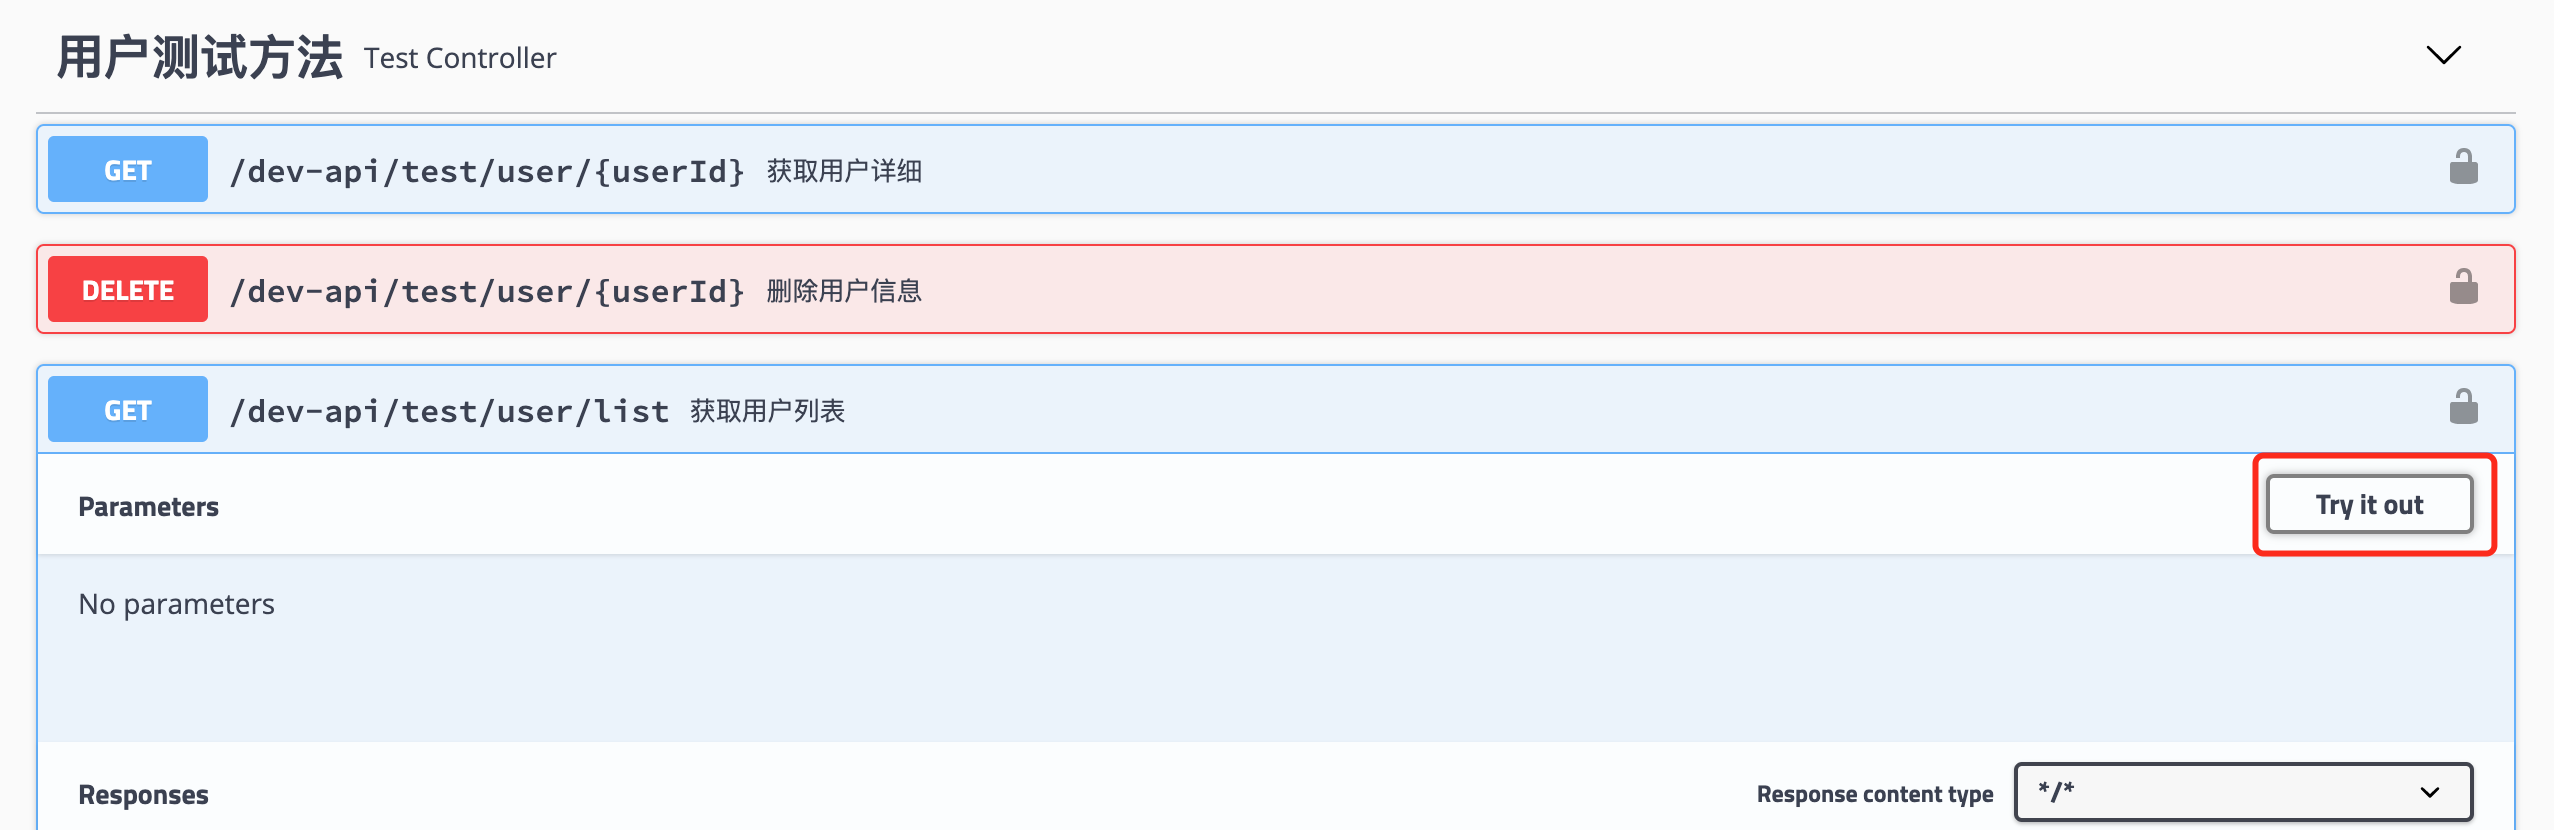
- 根据提示填写参数值,然后点击Execute按钮执行测试

- 查看返回结果,根据结果编写前端代码接口
# 三、添加api
操作流程:
- 在类上添加
@Api注解
@Api(value = "TestController类", tags={"测试类"})
@RestController
@RequestMapping("/test")
public class TestController extends BaseController
{
    // ....
}
1
2
3
4
5
6
7
2
3
4
5
6
7
- 在方法上添加注解
@ApiOperation
@ApiOperation("获取用户列表")
@GetMapping("/list")
public AjaxResult userList()
{
    List<UserEntity> userList = new ArrayList<UserEntity>(users.values());
    return AjaxResult.success(userList);
}
1
2
3
4
5
6
7
2
3
4
5
6
7
上面的是不需要参数的接口
- 使用
@ApiImplicitParam指定参数说明
@ApiOperation("获取用户详细")
@ApiImplicitParam(name = "userId", value = "用户ID", required = true, dataType = "int", paramType = "path")
@GetMapping("/{userId}")
public AjaxResult getUser(@PathVariable Integer userId)
{
    if (!users.isEmpty() && users.containsKey(userId))
    {
        return AjaxResult.success(users.get(userId));
    }
    else
    {
        return AjaxResult.error("用户不存在");
    }
}
1
2
3
4
5
6
7
8
9
10
11
12
13
14
2
3
4
5
6
7
8
9
10
11
12
13
14
# 四、常见问题
- @ApiModel等的value中不要出现/等特殊字符,否则会解析失效
- 如果参数是实体类,如:(UserEntity user)的时候要使用(@RequestBody UserEntity user)没有@RequestBody就不会 以json的格式传值,而且也没有Example Value和Model都会不显示
# 五、springboot集成swagger2
假设你已经有一个springboot框架的项目
- pom.xml添加依赖,目前最新版本是3.0.0需要额外增加
springfox-boot-starter这个依赖 而且访问地址也变成了http://localhost:8080/swagger-ui/index.html
<dependency>
    <groupId>io.springfox</groupId>
    <artifactId>springfox-boot-starter</artifactId>
    <version>3.0.0</version>
</dependency>
<!-- https://mvnrepository.com/artifact/io.springfox/springfox-swagger2 -->
<dependency>
    <groupId>io.springfox</groupId>
    <artifactId>springfox-swagger2</artifactId>
    <version>3.0.0</version>
</dependency>

<!-- https://mvnrepository.com/artifact/io.springfox/springfox-swagger-ui -->
<dependency>
    <groupId>io.springfox</groupId>
    <artifactId>springfox-swagger-ui</artifactId>
    <version>3.0.0</version>
</dependency>
1
2
3
4
5
6
7
8
9
10
11
12
13
14
15
16
17
18
2
3
4
5
6
7
8
9
10
11
12
13
14
15
16
17
18
留言: